How to Flush Your Dog’s Ears
In most normal dogs, ear cleaning is not necessary on a regular basis. The ear canal has normal epithelial migration (skin cell movement) that naturally cleans itself and keeps debris to a minimum. However, since inflammation or masses can upset the normal epithelial migration, ear flushing is often a part of treating ear disease in pets. The frequency of flushing is generally based on recommendations from your veterinarian, but dogs with underlying ear disease will need flushing 1-2 times per week. However, avoid over-flushing, which can lead to too much moisture in the ear canals and cause additional problems or prolonged infections.
What Should I Use to Flush My Dog’s Ears?
Although there are many over-the-counter ear flushes, it is important to consult with a veterinarian before putting anything into your dog’s ears. There are many ingredients that can be ototoxic and lead to loss of hearing or deafness if used inappropriately. Before flushing the ears, ensure that the tympanic membrane (ear drum) is intact to decrease the risk of ototoxicity.
There are several different classes of ear flushes, all of which are based on the underlying condition:
- Cerumenolytics are used to break down the cerumen (aka wax) and are generally recommended in cases of marked build-up of wax in the canals.
- Antiseptics/drying agents are used to help remove excess moisture from the canals or to help control microbes (bacteria or yeast).
How Do I Clean My Dog’s Ears?
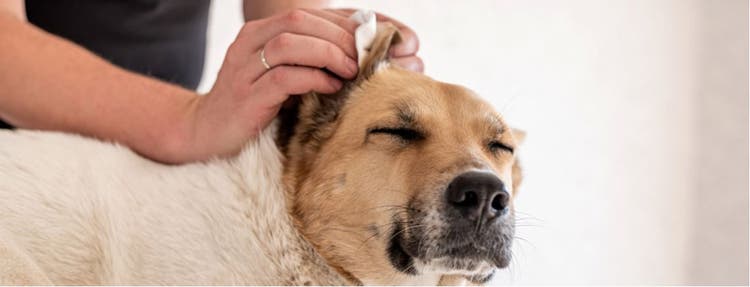
Flushing your dog’s ears can be challenging, and it is important to understand the anatomy of the dog’s ear canal before starting. Dogs have an L-shaped ear canal with a vertical canal leading to a corner (the junction), then into a horizontal canal, which ultimately ends at the eardrum. Gently pulling the pinna (ear flap) towards you can help lead straight to the canal and allow for more effective flushing. The next step is to fill the ear canal with cleaner and delicately massage the affected area.
After massaging the canal, allow your pet to shake their head to remove excess fluid and debris. Finally, use cotton balls or gauze to wipe off excess fluid and debris from the entrance of the canals and ear flaps. Don’t use cotton-tipped applicators, since they’re potentially dangerous and can further push debris into the ear canal. Depending on the severity of ear disease, an in-hospital sedated flush or video otoscopy may be recommended prior to initiation of a home flushing routine.
Do I Need to Pluck Hair Before Flushing My Dog’s Ears?
There is much debate about removing hair from the ear canal. In general, most veterinary dermatologists advise against plucking the hair, since it can create trauma and increase inflammation, resulting in increased risk for secondary infection. If the hair is obstructing the entrance to the canal, clipping of the hair on the outside may help increase visualization of the entrance and allow for better flushing.
Finally, it is important to discuss an ear-flushing program with your veterinarian before starting on your own. This will give your vet a chance to complete an otoscopic (ear) exam that will direct therapy and ensure safety. If you feel uncomfortable about the flushing process, ask your veterinarian for an in-office demonstration.